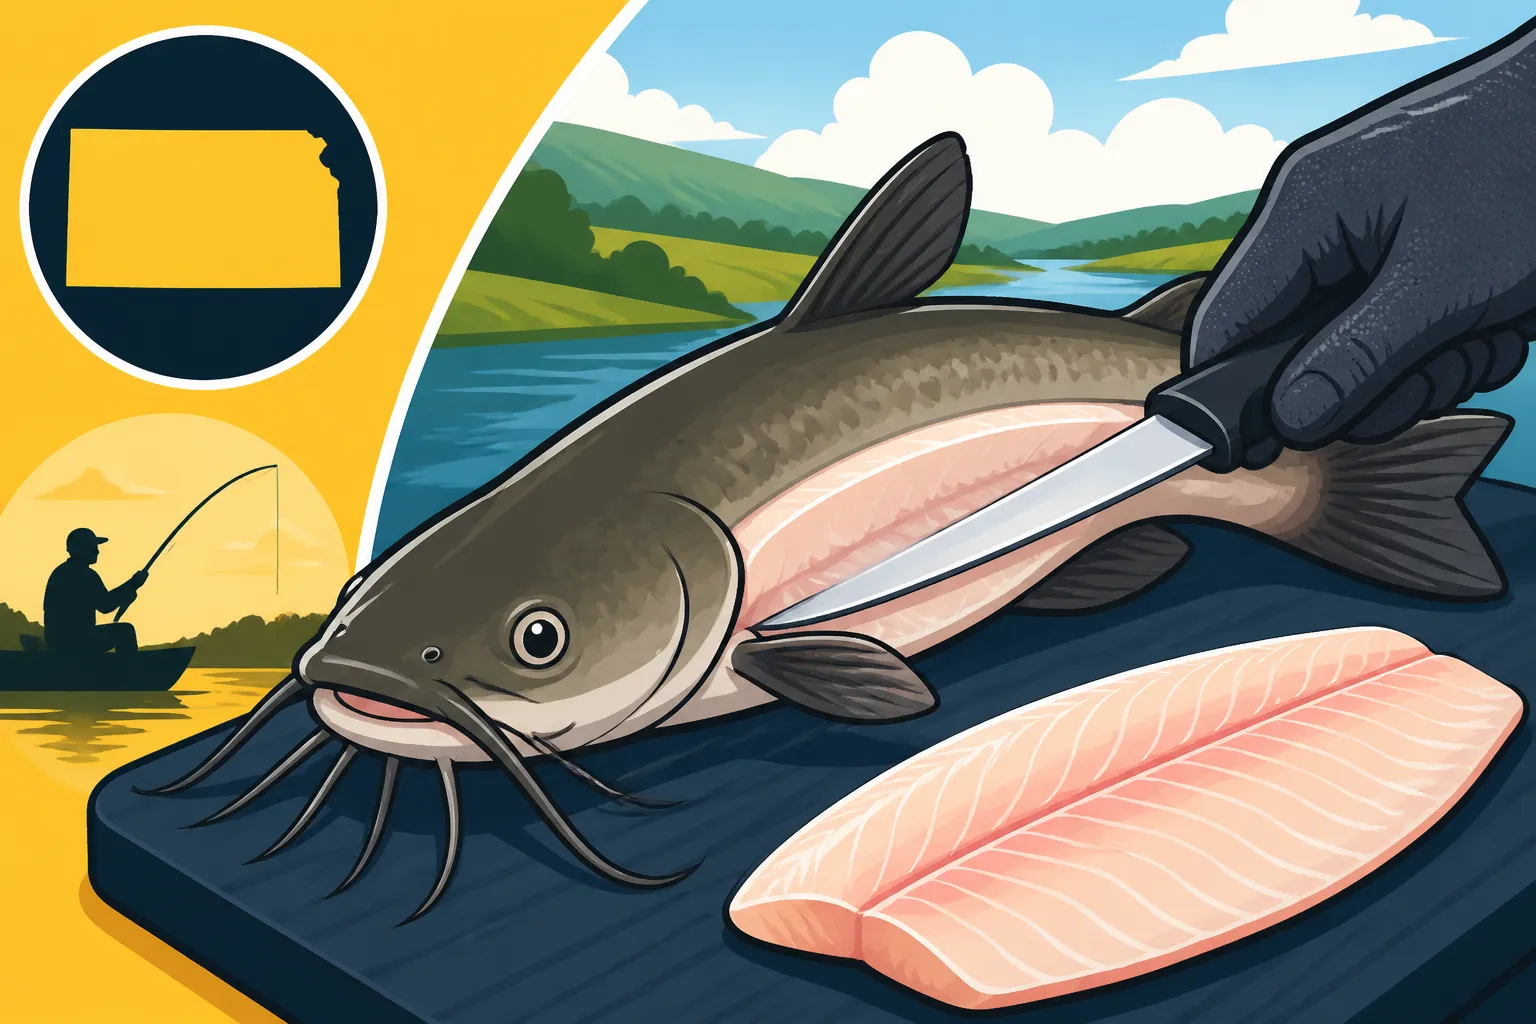
How to Fillet a Channel Catfish
Ah, the thrill of reeling in a feisty channel catfish from a Kansas lake or river! There's nothing quite like it. But then comes the moment of truth: cleaning your catch. For many anglers, this can feel like the most intimidating part of the entire fishing experience, turning a triumphant catch into a hesitant chore. Those tough skins and sometimes elusive bones can really test your patience. Well, don't you worry! This guide is here to demystify the process and show you exactly how to fillet a channel catfish like a seasoned pro, turning your catch into beautiful, boneless fillets ready for the frying pan.
The Right Tools for the Job: Gearing Up for Catfish Filleting
Before you even think about putting a knife to your hard-earned catch, it's crucial to set yourself up for success. Having the correct tools makes all the difference in achieving clean, professional-looking fillets and ensuring your safety. Trying to use a dull knife or a flimsy cutting board is a recipe for frustration, wasted meat, and even potential injury. Think of it like any other craft; the artisan is only as good as their tools, and in this case, your goal is delicious catfish.
Essential Knives and Sharpening
A good fillet knife is your most important ally. For channel catfish, which can have a tougher skin and denser bones than some panfish, you'll want a knife with a sturdy, yet flexible, blade. A blade length of 6 to 9 inches is generally ideal, offering enough reach for larger fish without being unwieldy for smaller ones. The flexibility of the blade is key for navigating around the rib cage and separating the skin with precision.
There are many great brands out there, and you can often find a wide selection of quality fillet knives on Amazon. Look for knives with a comfortable, non-slip grip, as your hands will likely get wet and messy during the process. Just as important as the knife itself is its sharpness. A dull knife is not only inefficient but incredibly dangerous. It requires more pressure to cut, increasing the risk of slipping and causing injury. Invest in a good knife sharpener – a ceramic stick, a sharpening steel, or a multi-stage sharpener – and use it frequently, even touching up the blade multiple times during a single filleting session. This ensures clean cuts and minimizes effort. For general maintenance and other essential items, check out our comprehensive Kansas Fishing Gear Guide.
Cutting Boards and Work Surfaces
Your work surface needs to be stable, easy to clean, and ideally, provide some grip to prevent the fish from sliding around. A large plastic cutting board is perfect for filleting fish. Wood can be porous and harder to sanitize, which isn't ideal for raw fish. Make sure your cutting board is big enough to comfortably hold your catfish without its head or tail hanging off the edges, giving you ample room to maneuver.
To further stabilize your setup, place a damp cloth or a non-slip mat under your cutting board. This simple trick prevents the board from sliding around on your counter, adding an extra layer of safety and control. Having a dedicated, well-lit area, perhaps near a sink for easy rinsing, will make the entire process much smoother and more enjoyable.
Gloves, Towels, and Other Helpers
Beyond the knife and board, a few other items can make your filleting experience significantly better. First, consider wearing cut-resistant gloves. While not strictly necessary, they offer an excellent layer of protection against accidental slips, especially if you're new to filleting or working with particularly active fish. You can find these on Amazon as well.
Second, have plenty of clean towels or paper towels on hand. You'll need them to wipe down your hands, the knife, and the work surface throughout the process, ensuring a cleaner environment and better grip. A pair of fish-handling gloves, often with a rough texture, can also be invaluable for holding onto slippery catfish, which are known for their slime coat. This can make the initial steps of securing the fish much easier and safer. Don't forget a sturdy bucket or large bowl for collecting the scraps and entrails, keeping your primary work area tidy.
Step-by-Step Filleting: From Fish to Fillet
Now that you're geared up, let's get down to business. Filleting a channel catfish might seem intimidating at first glance, but by breaking it down into manageable steps, you'll be surprised at how quickly you develop a smooth, efficient rhythm. The goal is to maximize meat yield while minimizing bones – something that comes with practice but is entirely achievable for even a novice angler.
Preparing Your Catfish
Before any cuts are made, your catfish needs a bit of prep. The freshest fillets come from fish that have been properly handled from the moment they're caught. Immediately after landing your catfish, it's a good practice to bleed the fish, if you haven't already, by cutting across the gills. This improves the flavor and appearance of the meat. Keep your catch on ice or in a cooler full of ice water to chill it down thoroughly. Colder fish are firmer and much easier to handle and fillet. This is especially important during Kansas Summer Fishing Guide trips.
Channel catfish have a tough, scaleless skin. Unlike some other fish, you don't typically need to scale them. Instead, you'll be skinning the fillets directly after they're removed from the carcass. Some anglers prefer to remove the head and gut the fish before filleting, which can make the initial cuts slightly easier. However, it's also perfectly fine to proceed directly to filleting a whole, ungutted catfish, as long as you're careful to avoid puncturing the internal organs during your cuts. Consider rinsing any excess slime off the fish with cold water before you begin to make it a bit less slippery.
Making the Initial Cuts
With your catfish chilled and ready, place it on your cutting board, belly facing away from you. This is where a good grip or fish handling glove can really come in handy.
-
Behind the Head Cut: Take your sharp fillet knife and make a deep cut straight down behind the pectoral fin, just behind the head. Angle the knife slightly towards the head to get as much meat as possible. Cut down until you hit the backbone. Don't cut through the backbone yet. For larger Kansas Catfish Species Guide, this might require a bit more force.
-
Along the Backbone: Once you've hit the backbone, turn your knife blade so it's parallel to the backbone. Now, carefully work the knife along the top of the backbone, from the initial cut all the way down towards the tail. Keep the blade pressed against the spine as you cut, allowing the knife to follow the bone contours. You'll feel the blade scraping along the bones. The goal here is to separate the fillet from the main body of the fish.
-
Detaching the Fillet: As you cut towards the tail, gradually angle your knife blade downwards, eventually cutting through the skin near the tail. This will free one side of the fillet from the carcass, leaving it attached only by the rib cage area.
Separating the Fillet from the Ribs
Now you have a fillet mostly detached, but with the rib bones still embedded in the meat. This is where a flexible fillet knife truly shines.
-
Cutting Around the Rib Cage: Place the freed fillet skin-side down on the cutting board. Identify the line of the rib bones. Carefully insert your knife under the ribs, near the top of the fillet. Using short, controlled strokes, work your knife along the curvature of the ribs, separating the meat from the bone. Keep the knife blade as close to the bones as possible to maximize meat yield. You're essentially "peeling" the meat off the rib cage.
-
Removing the Rib Section: Once you've cut around the entire rib cage, this section of bones should lift away cleanly, leaving you with a boneless fillet (save for the small "pin bones" we'll address later). Discard the rib section with the rest of the carcass.
-
Repeat on the Other Side: Flip the catfish over and repeat the entire process: make the initial cut behind the head, run the knife along the backbone to the tail, then carefully remove the rib cage section. With practice, these steps become second nature, much like mastering Kansas Fishing Techniques for Beginners. A common mistake is to try and rush, but patience here pays off in cleaner fillets.
Skinning Your Catfish Fillet
Channel catfish skin is thick and tough, not usually desirable for eating. So, skinning is a crucial step.
-
The Tail Grab: Lay your boneless fillet skin-side down on the cutting board. Grab the tail end of the fillet firmly, holding the skin flat against the board. For a better grip, you can make a small cut to create a tab in the skin at the tail end.
-
Angle and Saw: Insert your fillet knife blade between the meat and the skin, right at the tail end where you're holding it. Angle the blade slightly downwards, almost parallel to the cutting board, so it's cutting against the skin, not into the meat.
-
Sawing Motion: With a slight sawing motion and firm pressure on the knife, pull the skin towards you with your free hand while pushing the knife away from you. The goal is to leave all the skin behind while keeping the knife pressed tightly against it. This might take a few passes to get the hang of it. If you struggle with grip, some anglers use a pair of pliers on the skin tab for extra leverage. There are also specialized skinning tools available, which you might find on Amazon, that can simplify this process for tougher-skinned fish like catfish. Once done, you'll have a pristine, boneless, skinless fillet.
After the Fillet: Trimming, Storage, and Enjoyment
You've done the hard work, now it's time to refine your fillets and prepare them for cooking or storage. The pride of a perfectly filleted fish is a reward in itself, but the real prize is the delicious meal that follows.
Trimming and Pin-Boning
Even after carefully removing the main rib cage, some small, Y-shaped "pin bones" can remain in the thicker part of the fillet. These are usually concentrated in the front half, where the fillet was closest to the head.
-
Feel for Bones: Run your fingers over the surface of the fillet to feel for any remaining pin bones. They are often arranged in a distinct line.
-
Pin Bone Removal: You can remove these in a couple of ways:
- Pliers Method: Use a clean pair of needle-nose pliers or specialized fish bone pliers to grasp each pin bone firmly and pull it straight out in the direction it was growing.
- V-Cut Method: Alternatively, if there's a clear line of pin bones, you can make two shallow, angled cuts along either side of the bone line, forming a "V" shape, and then lift out the entire strip containing the bones. This sacrifices a small amount of meat but is quicker for multiple bones.
-
Removing Dark Meat and Fat: You might notice a darker, reddish band of meat along the lateral line of the fillet. While edible, this sometimes has a stronger, fishier flavor than the lighter meat. Many anglers prefer to trim this away, along with any excess fatty areas, to achieve a milder taste and cleaner presentation. Use your fillet knife to carefully slice these sections off. This step is particularly relevant when aiming for the highest quality from your Kansas Blue Catfish Facts and Limits.
Proper Storage for Freshness
Fresh is always best, but if you've caught a generous limit, proper storage is key to enjoying your fillets later. The Kansas Daily Creel Limits by Species can lead to a good haul, so knowing how to store is vital.
-
Refrigeration: For immediate consumption, rinse your fillets in cold water, pat them thoroughly dry with paper towels, and place them in an airtight container or zip-top bag with ice in the bottom. They will stay fresh in the coldest part of your refrigerator for up to 1-2 days. The drier they are, the longer they'll keep without developing a "fishy" odor.
-
Freezing: For longer storage, freezing is the way to go.
- Vacuum Sealing: This is the gold standard for freezing fish. Vacuum-sealed fillets can last for several months in the freezer without freezer burn. Remove as much air as possible before sealing.
- Water Glaze Method: If you don't have a vacuum sealer, place your dry fillets in a freezer-safe bag, add just enough cold water to cover them completely (this forms an ice glaze that protects the meat from air), and then seal and freeze. This method also works well to prevent freezer burn.
- Freezer Paper/Foil: Wrap individual fillets tightly in plastic wrap, then in freezer paper or heavy-duty aluminum foil, removing as much air as possible. Label and date everything!
Cooking Your Delicious Catfish Fillets
Now for the best part: enjoying your culinary efforts! Channel catfish fillets are incredibly versatile and delicious. Their firm, flaky, white meat stands up well to various cooking methods.
- Classic Fried Catfish: This is a Kansas favorite! Dip your fillets in a seasoned cornmeal or flour batter and fry them until golden brown and crispy. Serve with hushpuppies, coleslaw, and a squeeze of lemon.
- Baked or Grilled: For a healthier option, season your fillets with herbs, spices, and a little olive oil, then bake them in the oven or grill them until they're cooked through and flaky.
- Catfish Tacos or Sandwiches: Flaked catfish meat makes fantastic tacos or sandwiches. Explore different flavor profiles to really make these fillets shine. Remember, the journey from How to Catch Channel Catfish From the Bank to your plate is now complete!
Common Challenges and Troubleshooting
Even with the best tools and intentions, filleting fish can sometimes present a few challenges. Don't get discouraged if your first few attempts aren't perfect. Like anything worthwhile, practice makes perfect. Understanding common hang-ups and how to address them will help you improve your technique and confidence.
Dealing with Slippery Fish
Catfish are notoriously slimy, and this can make them incredibly difficult to hold still on the cutting board, especially if your hands are wet. This slipperiness is one of the most common frustrations for new anglers trying to fillet their catch.
- Rinsing and Drying: A quick rinse under cold water can remove some of the loose slime. More importantly, thoroughly patting the fish dry with paper towels before you start can make a big difference in reducing slipperiness.
- Grip Aids: As mentioned earlier, fish handling gloves with a textured surface are a game-changer. These provide excellent grip on the fish itself. Some anglers even sprinkle a little coarse salt on the fish's skin for added traction, which can be rinsed off before cooking.
- Stabilization: Ensure your cutting board isn't sliding around. A damp towel underneath the board creates friction and keeps it stable, allowing you to focus on controlling the fish and your knife. For larger fish, a "fish scaler" board with a clamp at the head can hold it steady. While not strictly a scaler for catfish, the clamp can be quite useful. If you don't have one, consider looking for one on Amazon.
Overcoming Bone Troubles
Finding bones in your fillets after all that effort can be disappointing. Whether it's the ribs or pin bones, dealing with them efficiently is part of mastering the craft.
- Rib Cage Remnants: If you find you're leaving too much meat on the rib cage, it often means your knife isn't staying close enough to the bones. Slow down, use the tip of your flexible fillet knife, and really feel the bones with the blade as you cut. Practice making those precise, sweeping motions that hug the bone structure. Don't press too hard, let the sharpness of the knife do the work.
- Persistent Pin Bones: Sometimes, despite your best efforts, those tiny pin bones remain. This is why the post-filleting "trimming and pin-boning" step is so important. Running your fingers over the fillet to locate them is crucial. If you don't have specialized fish bone pliers, a regular pair of clean needle-nose pliers (perhaps a designated "fishing pliers" from your Kansas Fishing License Exemptions kit) will work in a pinch. Remember to pull the bones out at the angle they naturally grow, which is usually towards the head, to avoid tearing the meat.
Keeping Your Workspace Clean and Safe
A messy workspace isn't just unpleasant; it's a breeding ground for bacteria and increases the risk of slips and cuts. Hygiene and safety go hand-in-hand when handling raw fish and sharp tools.
- Immediate Cleanup: Have a designated scrap bowl or bucket right next to your cutting board. As you remove skin, bones, and entrails, immediately place them in the scrap container. This keeps your main work area clear.
- Regular Rinsing: Periodically rinse your knife and hands with cold water to remove slime and blood. This not only keeps things cleaner but also helps you maintain a better grip on your knife.
- Sanitization: After you're completely done, thoroughly wash your cutting board, knife, and any other tools with hot, soapy water. Consider using a diluted bleach solution or a food-safe sanitizing spray for plastic cutting boards to ensure all bacteria are eliminated. This is especially important for Best Bait for Kansas Catfish residue.
- Knife Safety: Always cut away from your body. When you're not actively using your knife, lay it flat on the cutting board with the blade facing away from you, or even better, put it away in a safe sheath. Never leave a sharp knife submerged in a sink of soapy water where it can't be seen.
| Step | Description | Key Tip |
|---|---|---|
| Preparation | Bleed and chill fish. Pat dry. Ensure sharp knife and stable board. | Cold fish is firmer and easier to fillet. |
| Initial Head Cut | Cut behind pectoral fin, angled towards head, down to backbone. | Angle knife for maximum meat yield. |
| Along Backbone | Turn knife parallel to spine; cut from head to tail, hugging the backbone. | Keep blade pressed against bones; let knife guide the cut. |
| Separate Ribs | Cut under the rib cage, following bone curvature to free fillet. | Use a flexible blade, stay close to ribs for minimal waste. |
| Skinning | Grab tail end of skin, cut between meat and skin with angled knife. | Pull skin away, push knife forward, keeping blade parallel to skin. |
| Trimming/Pin-Boning | Feel for pin bones, remove with pliers or a V-cut. Trim dark meat if desired. | Don't rush; meticulous removal ensures boneless enjoyment. |
Filleting a channel catfish is a skill that develops with each fish you clean. Don't be afraid to experiment, watch videos, and find what works best for your hand and your knife. Soon enough, you'll be turning out perfect fillets with confidence and ease, ready to enjoy the freshest taste of Kansas fishing! And remember, when you're out there, always keep an eye on the Kansas Walleye Minimum Length Limit of 21 Inches and other regulations, even if you're targeting catfish!
Disclaimer
This article is for general informational purposes only and does not constitute professional advice. Laws, prices and regulations vary by location and change over time. Consult a qualified professional for guidance on your specific situation.