How to Fillet a Crappie
There's nothing quite like a mess of fresh crappie, but for many anglers, the excitement of a full livewell quickly turns into dread when it's time to clean them. Those thin, delicate fillets can seem impossible to remove without wasting precious meat or leaving bones behind. If you've ever struggled with a dull knife, felt overwhelmed by the process, or just weren't sure where to start, you're not alone. This comprehensive guide is designed to empower you with the knowledge and techniques needed to perfectly fillet crappie, ensuring you can enjoy every delicious, boneless bite from your Kansas fishing adventures.
Why Mastering the Art of Crappie Filleting is a Game Changer
Crappie are undeniably one of the most sought-after panfish in Kansas, known for their flaky, white, and sweet-tasting meat. However, their delicate nature and smaller size can make filleting seem like a daunting task compared to larger fish. Many anglers opt to scale and gut them, cooking them whole, but that means dealing with bones at the dinner table. Learning to fillet crappie opens up a world of culinary possibilities, from crispy fried fillets to delicate crappie tacos, all without the hassle of navigating around bones.
Think about it: after a long day chasing slabs on Milford Lake or working jigs for Kansas Spring Crappie Fishing Tips at Cheney, the last thing you want is for your hard-earned catch to go to waste because cleaning feels too difficult. Perfecting your filleting technique not only maximizes the amount of edible meat you get from each fish but also elevates the dining experience for you and your family. It transforms cleaning from a chore into a satisfying final step of the fishing process, ensuring every fish contributes its full delicious potential.
Essential Gear for a Smooth Filleting Experience
Before you even think about making that first cut, having the right tools on hand makes a monumental difference. Trying to fillet crappie with a dull kitchen knife or an inadequate setup is a recipe for frustration, wasted meat, and potentially even injury. Investing in a few key pieces of equipment will not only make the process easier but also more efficient and enjoyable.
The Right Fillet Knife Makes All the Difference
Your fillet knife is arguably the most crucial tool in your arsenal. For crappie, you'll want a knife with a thin, flexible blade, typically in the 6- to 7-inch range. The flexibility allows you to easily maneuver around bones and follow the contours of the fish's body, crucial for maximizing meat yield on these smaller fish. A razor-sharp edge is non-negotiable; a dull knife will tear the meat and require more force, leading to sloppier cuts and potential slips. Many anglers find excellent options, from flexible manual blades to more robust electric models, readily available on platforms like Amazon.
You might wonder if an electric fillet knife is worth it for crappie. For a few fish, a good manual knife is perfectly adequate and offers more control for intricate cuts. However, if you're consistently bringing home a Kansas Crappie Daily Limit of 50 Fish and want to speed up the process significantly, an electric knife can be a game-changer, slicing through fish with incredible efficiency. Just be aware that electric knives, while fast, can sometimes offer slightly less precision around the rib cage compared to a skilled hand with a manual knife. Regardless of your choice, always ensure your blade is sharp – a sharpening stone or electric sharpener is a must-have accessory.
Setting Up Your Efficient Filleting Station
Having an organized workspace is key to a smooth and hygienic filleting process. You'll need a sturdy cutting board, preferably one that won't slip around. A large plastic cutting board is ideal, as it's easy to clean and won't absorb fish odors. Place it on a stable surface at a comfortable working height.
Next, consider your waste management. Have a large bucket or trash bag nearby to dispose of the carcasses immediately. This keeps your workspace clean and minimizes odors. For your freshly cleaned fillets, a bowl of ice water is perfect. This keeps the fillets chilled and firm until you're ready to package them, helping to preserve their quality. A few paper towels or a clean cloth are also handy for wiping down your hands or the knife as you work. When preparing for a crappie fishing trip, remember that proper storage for your catch, even before filleting, is important for freshness, so a good cooler is essential from the moment you land your fish.
Here's a quick comparison of common fillet knife types to help you decide:
| Feature | Manual Fillet Knife | Electric Fillet Knife |
|---|---|---|
| Precision | High, allows for intricate cuts around bones | Moderate, good for speed but less finesse |
| Speed | Slower, depends on skill and blade sharpness | Very fast, ideal for processing many fish quickly |
| Effort | Requires more manual dexterity and arm strength | Much less effort, blades do the work |
| Maintenance | Regular sharpening crucial, easy to clean | Blades can be replaced, requires cleaning motor/handle |
| Portability | Highly portable, needs no external power | Requires power source (battery pack or electrical outlet) |
| Control | Excellent, direct feedback from the blade | Good, but motor drives the cut, less subtle control |
| Best For | Anglers who clean fewer fish, desire maximum yield | Anglers who clean many fish regularly, value speed |
A Step-by-Step Guide to Perfectly Filleting Crappie
Now for the main event! While it might seem intimidating at first, filleting a crappie is a series of deliberate, repeatable steps. With a sharp knife and a bit of practice, you'll be zipping through your catch like a seasoned pro in no time. We'll walk through each step, making sure you understand the nuances.
Preparing Your Fish for Filleting
First things first, ensure your crappie are as fresh and firm as possible. Keeping them on ice or in a livewell until you're ready to clean them is crucial. A chilled fish is much easier to handle, and the meat will be firmer, making for cleaner cuts. Before you begin, give each fish a quick rinse under cold water to remove any slime or debris. You'll be working with a delicate fish, so cleanliness from the start will make a difference. Understanding details like Kansas White Crappie Identification or Kansas Black Crappie Identification isn't crucial for filleting, but knowing your catch is always a good part of the overall fishing experience.
The Initial Cuts: Setting the Stage for Success
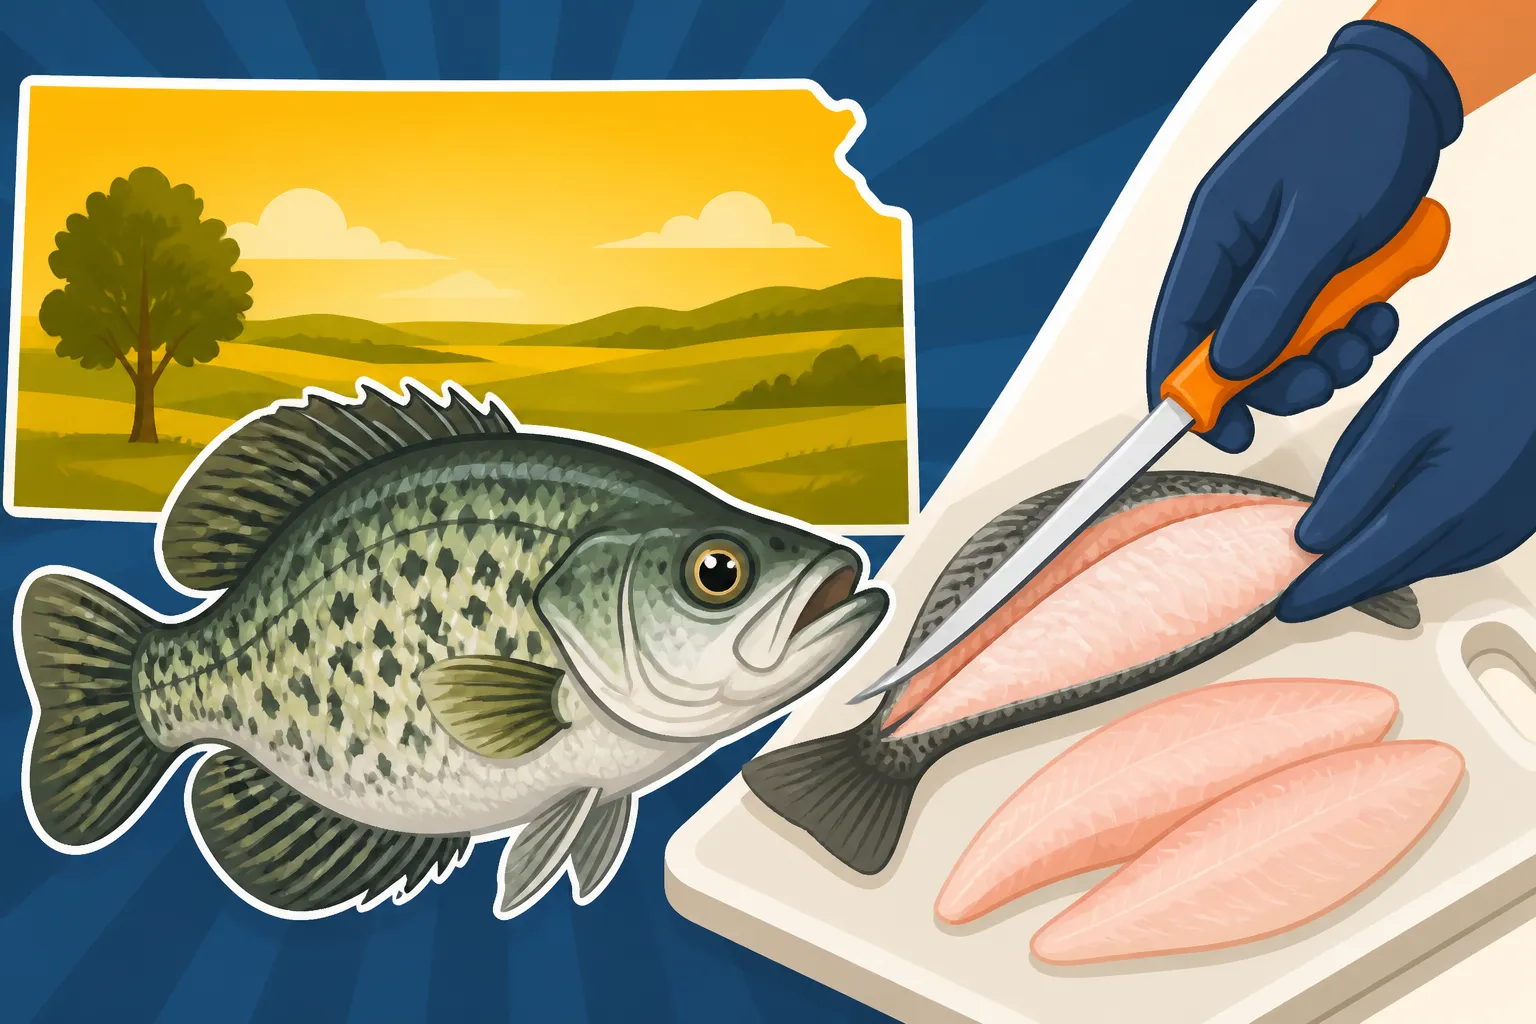
Place the crappie on your cutting board, laying it flat on one side with its back facing away from you. This gives you a stable platform to work from.
- The Head Cut: Take your sharp fillet knife and make an angled cut directly behind the gill plate, just until you feel the backbone. Do not cut through the backbone yet. You're essentially creating a starting point for your main fillet cut. This angle should be towards the head, maximizing the meat you keep on the body.
- The Top Fin Cut: With the knife still at the backbone from your first cut, turn the blade so it's parallel to the fish's spine. Begin to slice horizontally along the top of the backbone, working your way from the head cut towards the tail. Keep the blade pressed against the backbone to ensure you're getting as much meat as possible. You’ll feel the resistance of the ribs as you go.
Following the Backbone and Removing the Fillet
This is where the magic happens and where the flexibility of a good fillet knife truly shines.
- Separating the Fillet: Continue your cut along the backbone, extending all the way to the tail. Once you reach the tail, instead of cutting the fillet completely off, leave a small piece of skin attached. This hinge at the tail will be helpful in the next step when you skin the fillet. Maintain consistent, light pressure against the bone to ensure a clean separation of the meat. Don't press too hard, or you risk cutting into the bones themselves.
- Rib Cage Removal: This is often the trickiest part for beginners. With the fillet still attached by the tail, gently lift the fillet away from the fish. You'll see the rib cage. Carefully work your knife under the ribs, using short, shallow strokes, angling the blade slightly upward towards the ribs. The goal is to separate the meat from the rib bones without wasting too much flesh. Some people prefer to make a deeper cut around the entire rib cage, removing it in one piece, while others meticulously trim each rib. Find what works best for your comfort and skill level. Many experienced crappie anglers consider this the defining moment of a good fillet.
Skinning the Fillet: Achieving Boneless Perfection
With the fillet now detached from the backbone and ribs (except for that small hinge at the tail), it's time to remove the skin.
- Lay Flat and Grip: Lay the fillet skin-side down on your cutting board. Firmly grip the tail end of the fillet where the skin is still attached.
- The Skinning Cut: Place your knife blade flat against the cutting board, just above the skin where the meat begins. Apply downward pressure to the blade and gently saw back and forth as you pull the skin firmly towards you. The goal is to slide the blade between the skin and the meat, leaving as little meat as possible on the skin. Keep your knife slightly angled down, almost scraping the board, to ensure a clean separation. A good, sharp blade will glide right through. You might find a quick tutorial on "How to Fillet a Channel Catfish" can offer some visual cues for the skinning technique, even though crappie are smaller.
Repeat these steps for the other side of the fish. Remember, practice makes perfect. Your first few fillets might not be restaurant-quality, but with each fish, you'll gain confidence and precision.
Tips for Maximizing Yield and Storing Your Delicious Fillets
You've put in the work to catch and clean your crappie, so let's ensure every ounce of that delicious meat is enjoyed to its fullest. Getting the most out of each fish and storing it properly is just as important as the filleting itself.
Getting Every Ounce of Meat
Even after you've expertly filleted your crappie, a quick inspection can sometimes reveal small bits of meat clinging to the carcass or remnants of the rib cage. Don't let those go to waste! After removing the main fillets, you can often scrape a surprising amount of additional meat from the frame, especially around the belly area. This "scrap" meat is fantastic for fish patties or adding to a fish chowder.
Another common oversight is the "pin bones." While crappie generally have fewer troublesome pin bones than some other species, it's always a good idea to run your finger along the center of the fillet to check for any small, protruding bones. If you find any, you can easily remove them with a pair of needle-nose pliers or by making a small V-cut along the bone line. Being meticulous here ensures a truly boneless eating experience, which is part of the appeal of a properly filleted crappie. Just like adhering to Kansas Fishing Seasons and Limits, being thorough with your cleaning maximizes your enjoyment within the rules.
Proper Storage for Freshness and Future Meals
Once you have your beautiful, boneless crappie fillets, proper storage is paramount to maintaining their quality. The goal is to protect them from freezer burn and maintain their delicate flavor.
- Rinse and Pat Dry: Give your fillets one final rinse in cold water and then pat them thoroughly dry with paper towels. Excess moisture can lead to ice crystals and affect texture.
- Packaging Options:
- Air-Tight Bags: For short-term storage (a few days in the refrigerator), zip-top bags work well. Make sure to press out as much air as possible before sealing.
- Vacuum Sealing: This is by far the best method for freezing crappie fillets. Vacuum sealers remove all air, preventing freezer burn and keeping your fish fresh for much longer, often up to a year. You can find reliable vacuum sealers and bags on Amazon.
- Water Freezing: If you don't have a vacuum sealer, you can place a few fillets in a freezer-safe container (like a plastic freezer bag or rigid plastic container) and cover them with water. This creates a block of ice that protects the fish from air. Just be sure the container is completely sealed to prevent leaks.
- Labeling: Always label your packages with the date and type of fish. This helps you rotate your stock and ensures you're eating your freshest catch first.
By following these storage guidelines, you'll be able to enjoy the fruits of your labor long after your fishing trip is over. Imagine pulling out those perfectly preserved fillets months later for a delicious meal, a true testament to your angling and filleting skills. You'll be ready for any craving, whether it's for crappie or even a delicious Kansas Walleye Fishing Guide adventure!
Troubleshooting Common Filleting Issues
Even with the best instructions, you might run into a few snags when you're first learning to fillet crappie. Don't get discouraged! These are common issues, and understanding how to address them will make you a more confident and skilled fish cleaner.
Dealing with Wasted Meat and Uneven Cuts
One of the most common frustrations for beginners is feeling like they're leaving too much meat on the bones. This usually stems from two primary issues: knife angle and pressure.
If you find a significant amount of meat clinging to the backbone, it likely means your knife wasn't staying close enough to the bone. Remember, the goal is to scrape the bone, not cut above it. Adjust your angle, keeping the blade almost flat against the backbone as you slide it from head to tail. Sometimes, too much pressure can cause the blade to dig into the bone itself, resulting in ragged cuts. Use a lighter, more consistent pressure, allowing the sharpness of the blade to do the work.
Uneven cuts, especially when removing the rib cage, often indicate a lack of control or an unsure hand. Take your time, use short, deliberate strokes, and continually adjust your knife's angle to follow the curve of the ribs. Think of it like a delicate surgical procedure. With more practice, those movements will become fluid and intuitive. It's a skill, much like perfecting Jigging Techniques for Kansas Crappie, that improves with repetition.
Overcoming Difficulties with Skin Removal
If you're struggling to separate the skin from the meat, resulting in torn fillets or leaving too much meat on the skin, several factors could be at play.
Firstly, ensure your knife is absolutely razor sharp. A dull blade will snag and tear, making smooth separation nearly impossible. Secondly, your angle might be off. Remember to keep the knife blade as flat as possible against the cutting board, almost parallel to the skin. You're trying to slide the blade between the skin and the meat, not cut through either. Apply consistent, firm tension to the tail end of the skin as you saw the knife back and forth. If the fish isn't thoroughly chilled, the meat can be softer and harder to separate cleanly from the skin. Always try to work with a cold fish. If you still find it challenging, a slightly longer, more flexible blade might give you a better feel for the separation point.
Another tip: some anglers find that making a very shallow, initial cut just under the skin at the tail-end hinge can help establish the correct plane for the rest of the skinning process. This creates a small starting point that makes it easier to guide your blade. These minor adjustments can make a significant difference in achieving those beautiful, clean, skinless fillets. You'll soon see why mastering this process is key to enjoying your Kansas Fishing License Guide efforts to the fullest.
Maximizing Your Crappie Filleting Efficiency and Enjoyment
Filleting crappie doesn't have to be a dreaded chore. With the right tools, technique, and mindset, it can become a satisfying conclusion to a successful day on the water. From the moment you land a Kansas Crappie Minimum Length Limit of 10 Inches fish, thinking about how you'll clean it can be part of the fun.
Batch Processing for Large Catches
If you're lucky enough to have a cooler full of crappie, don't try to tackle each step for one fish at a time. Instead, break the process down into stages for efficiency. First, make all the initial head cuts on every fish. Then, go back and run your knife down the backbone of all the fish on one side. Next, remove all the rib cages. Finally, skin all the fillets. This assembly-line approach builds muscle memory, makes the process much faster, and helps you maintain consistency in your cuts.
Having your station set up properly, with your cutting board, knife, waste bucket, and ice bath all within easy reach, also contributes greatly to efficiency. Imagine you've had a fantastic day fishing, maybe even catching a personal best while exploring different Kansas State Park Fishing Permit Rules. You want to process that bounty quickly so you can get to the eating part!
Cleaning Up and Keeping it Fresh
Once all your crappie are filleted and safely stored, immediate cleanup is crucial. Rinse your cutting board and knives thoroughly with cold water to remove any fish residue. A scrub brush and a mild dish soap are excellent for a deep clean. For persistent odors, a mixture of baking soda and water or a spray of white vinegar can work wonders.
Don't forget to clean up your workspace as well, removing any scales or entrails. This prevents attracting pests and keeps your cleaning area pleasant for your next adventure. Ensuring your fillets are well-preserved means you can enjoy them anytime, whether it's for a spur-of-the-moment fish fry or a planned dinner with friends and family. Remember, every time you practice, you get better, ensuring more delicious meals from your Kansas fishing trips.
Disclaimer
This article is for general informational purposes only and does not constitute professional advice. Laws, prices and regulations vary by location and change over time. Consult a qualified professional for guidance on your specific situation.